
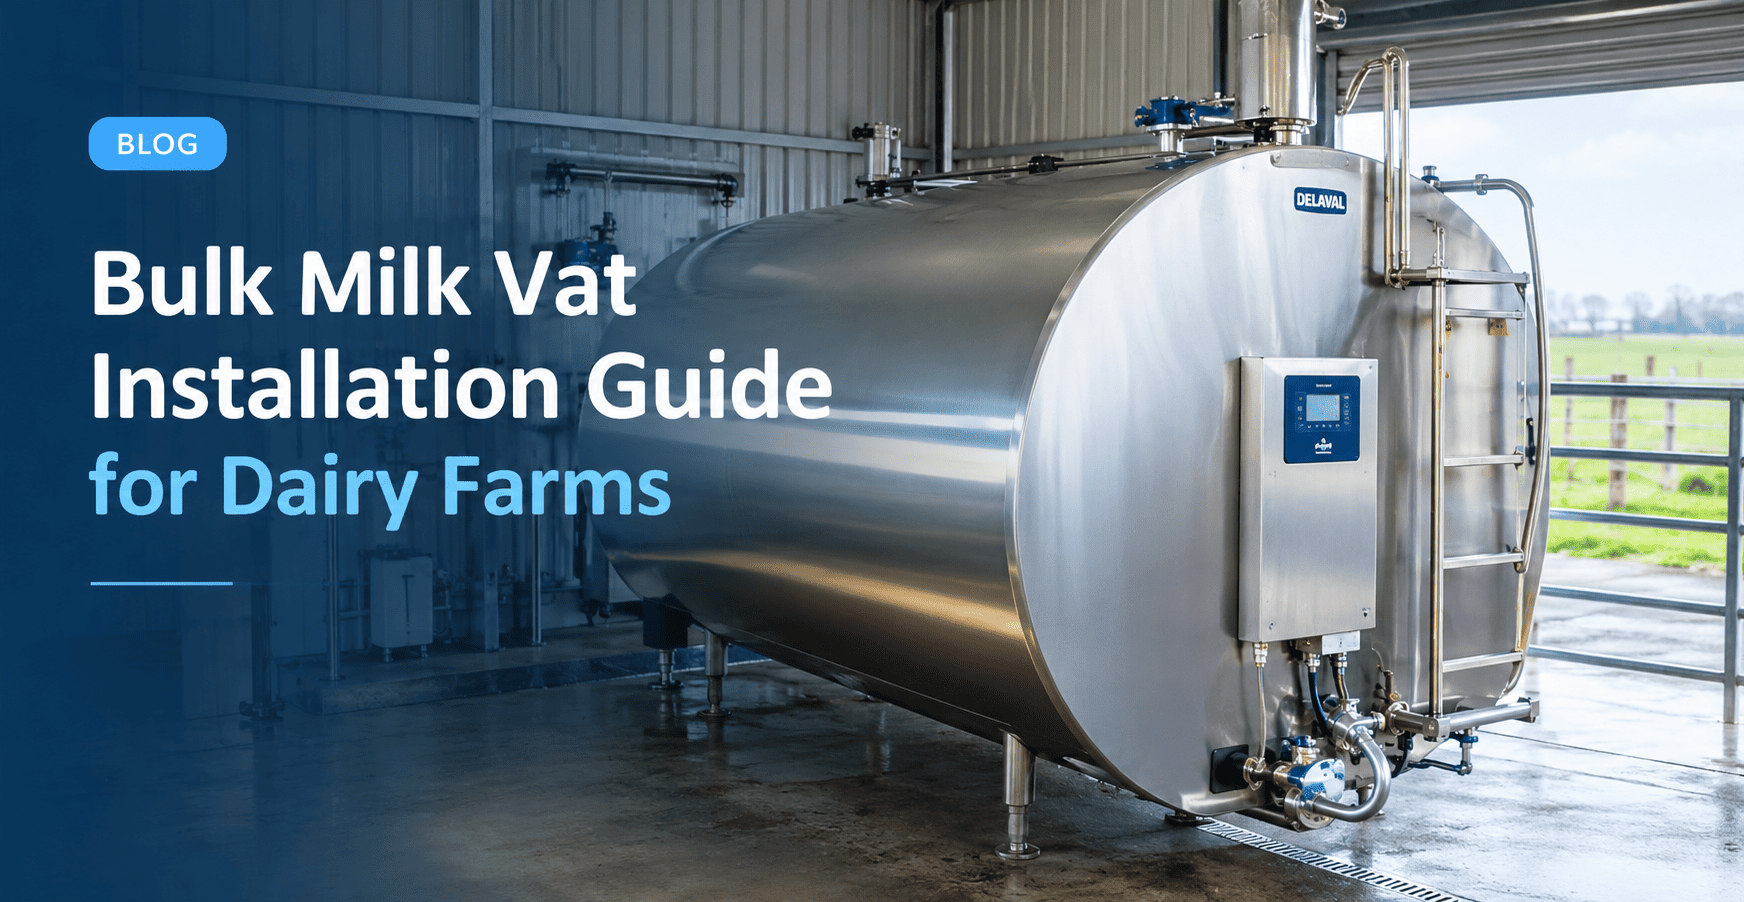
Getting Your Bulk Milk Vat Installation Right From the Start
Installing a bulk milk vat is a major investment for any dairy farmer. If you do it right, you’ll have a reliable and efficient system that protects milk quality, keeps you compliant, and works well for years. If not, you could face expensive fixes, failed audits, and the risk of your milk being downgraded or rejected.
Our team brings over 45 years of hands-on experience installing dairy refrigeration systems throughout Victoria and beyond.
Whether you’re starting a new dairy, upgrading an old vat, or expanding for a larger herd, this guide will take you through every step from planning to commissioning and handover.
Step 1: Determine the Right Vat Size for Your Operation
The first question to answer before anything else is: how big does your vat need to be?
In Australia, most bulk milk vats are sized to hold at least two milkings’ worth of milk. Many modern dairies, with less frequent collections, need storage for three or more milkings. Your milk processor will tell you the minimum storage you need based on your collection schedule, so always start there.
Key factors that determine VAT size include:
- Number of cows in your herd and your expected peak production per milking
- Collection frequency from your milk processor (every 24, 48, or 72 hours)
- If you plan to expand in the future, it’s cheaper to install a larger vat now rather than upgrade in a few years.
- Available shed or dairy floor space
- Budget, including running costs (larger vats have higher refrigeration demands)
As a general rule, dairy farmers in Victoria should plan for a vat capacity that is at least 10 to 15 per cent larger than their current peak production volume. This buffer accounts for seasonal production increases and provides headroom for herd expansion.
Vat sizes range from 2,000 litres for small farms up to 30,000 litres or more for large commercial dairies. Custom options are also available if standard sizes don’t suit your needs.
Step 2: Choose the Right Vat Type
Not all bulk milk vats are the same. The two primary configurations are:
Direct Expansion (DX) Vats
These vats use refrigerant to cool milk through plates in the vat wall. They’re the most common type on Australian dairy farms, for small to mid-sized operations. DX vats are reliable, easy to maintain, and work well for moderate milk volumes and regular collection schedules.
Glycol-Cooled Vats
These systems use a chiller to cool a glycol solution, which circulates through the vat and plate coolers. They provide better pre-cooling and more flexibility, since one glycol chiller can serve several tanks and coolers at once. Larger farms are choosing glycol systems, in hot areas like northern Victoria and southern New South Wales during summer.
New vs Second-Hand Vats
New vats from authorised manufacturers like GEA/Westfalia or Packo come with full warranties and meet current food safety standards. Second-hand vats can save money for smaller farms or during expansion, as long as they’re properly checked, refurbished if needed, and installed by a qualified refrigeration mechanic.
Step 3: Site Preparation and Shed Requirements
Getting the site ready is crucial, and many farmers installing a vat for the first time overlook this step.
Floor and Structural Requirements
Bulk milk vats are heavy. For example, a 10,000-litre vat full of milk can weigh over 11,000 kilograms. The concrete slab needs to be strong enough for this weight, and the floor must be perfectly level so the agitator works properly and the milk drains fully during collection.
Before installation, confirm:
- The concrete floor is rated to the required load capacity
- The slab is level within manufacturer tolerances (within 5mm across the full length of the vat)
- There is enough space around the vat for service access. At least 600mm is standard, but 800 to 1000mm is better for larger vats.
- The roof is high enough to open the vat lid and remove the agitator during servicing.
Electrical Requirements
Bulk milk vats require a dedicated single or three-phase power supply, depending on the size and type of unit. The installation must comply with Australian Standard AS/NZS 3000 (the Wiring Rules), and all electrical work must be carried out by a licenced electrician in conjunction with your refrigeration installer.
Key electrical considerations include:
- Correct circuit breaker and fuse sizing for the compressor and agitator loads
- Appropriate earthing and safety switches (RCDs)
- Weatherproof switchboard if the installation is in a partially open shed
- Surge protection is a good idea in rural areas where lightning and power fluctuations are common.
Water Supply and Drainage
Your vat needs an easy-to-reach water supply for cleaning and wash-down. Drainage should be able to handle all the rinse water and milk residue from cleaning. Ensure your dairy shed drainage meets your local council’s rules and your state’s dairy authority guidelines.
Step 4: Understanding Australian Dairy Compliance Requirements
In Australia, bulk milk handling is regulated under the Dairy Food Safety standards administered in Victoria by Dairy Food Safety Victoria (DFSV). Compliance is non-negotiable; a non-compliant installation can result in your milk being rejected, penalties, or your dairy licence being suspended.
Key compliance requirements for bulk milk vats include:
- Milk must be cooled to 5°C 4 deg Cor below within a specified timeframe after the start of milking (within two to three hours of the first milking and maintained at that temperature thereafter)
- Vat surfaces that contact milk must be food-grade stainless steel (316 grade is standard)
- Vat agitators must operate as required by the controller to maintain a consistent temperature throughout the milk
- Temperature monitoring and recording equipment must be fitted and functional. Many processors require data loggers
- The vat must be cleaned and sanitised after each collection using an approved CIP system
If you hire a qualified, ARC-authorised refrigeration company, your installer will ensure the system is designed, installed, and set up to meet all Australian and state dairy standards.
Step 5: Plate Coolers and Pre-Cooling Systems
If you want the best milk quality and efficient refrigeration, you should include a plate cooler in your installation plan.
A plate cooler works by passing raw milk over metal plates while cold water or glycol flows in the opposite direction. This cools the milk before it enters the vat, dropping the temperature from about 38°C to a few degrees above the cooling water’s temperature.
The benefits of pre-cooling are significant:
- Reduces the refrigeration load on the vat compressor, extending its lifespan
- Gets milk to safe temperature faster, improving milk quality and bacterial counts
- Reduces electricity use, since pre-cooling costs much less than mechanical refrigeration
- Allows a smaller-capacity vat compressor to handle the cooling job reliably
You can add plate coolers to existing vat setups, and they’re a worthwhile upgrade even if you’re not replacing the vat.
Step 6: Heat Recovery Units , Getting Value From Your Refrigeration System
The smartest addition to any new vat installation is a heat recovery unit.
When your refrigeration system cools milk, it creates a lot of waste heat. A heat recovery unit captures this heat and uses it to warm water, giving you plenty of hot water as a by-product at little extra cost.
On a dairy farm, a heat recovery unit can supply 60 to 80 percent of your daily hot water for cleaning and washdown. With high electricity and LPG costs in rural Victoria, these units pay for themselves in less than two years.ars.
Step 7: Commissioning and Testing
After the vat is installed, plumbed, and wired, commissioning is the last step before you start using the system.
A thorough commissioning process includes:
- Checking refrigerant charge and leak testing all refrigerant connections
- Verifying electrical connections and testing all safety cut-outs
- Running the agitator and confirming correct rotation and operation
- Filling the vat with water to test cooling performance before first milk contact
- Setting and verifying the temperature controller setpoints
- Testing the CIP (clean-in-place) cycle to confirm wash coverage and drainage
- Calibrating the temperature data logger and confirming it is logging correctly
- Completing all manufacturer commissioning documentation for warranty purposes
A good installer will also show you and your staff how to operate the system, handle alarms, and what to do if something goes wrong between service visits.
Vat Brands and Spare Parts: What You Need to Know
The major bulk milk vat brands used in Australia include GEA (Westfalia), Packo, Zero, Mueller, Boumatic, Ro Ka/Viking, and Fitzroy. Each brand has its own controller technology, refrigeration configuration, and spare parts requirements.
When choosing a vat, pick a brand with a local dealer who stocks genuine spare parts. Waiting for imported parts can mean days or weeks of downtime if something important breaks, and no dairy farmer wants that during peak production.
Kyabram Refrigeration keeps a large inventory of spare parts for all major vat brands. This means repairs are done faster, and you spend less time waiting for parts from overseas.
Ready to Install or Upgrade Your Bulk Milk Vat?
Installing a bulk milk vat is too important to risk. It impacts your milk quality, compliance, energy costs, and your farm’s bottom line.
Kyabram Refrigeration has supplied, installed, and serviced dairy refrigeration systems across Victoria for over 45 years. As authorised dealers for GEA (Westfalia) and Packo milk vats, and with a full range of spare parts for all major brands, we have the experience and stock to get your installation done right and keep it running for years.
We offer 24/7 emergency dairy service because we know that dairy farming doesn’t stop at knock-off time.
Call (03) 5852 1212 or visit kyabramrefrigeration.com.au to discuss your vat installation requirements. We’ll work with you to design a solution that fits your herd, your shed, and your budget.
Frequently Asked Questions: Bulk Milk Vat Installation
How long does it take to install a bulk milk vat?
A simple installation on a prepared site may be achieved between milkings with the team at Kyabram Refrigeration. wtn b MAY may be achieved between milkings with the tead between milkings with them at Kyabram Refrigeration. of matake ths one to three days fod between milkings with the team at r the refrigeration part, plus extra time for electrical and civil work. More complex or custom setups can take longer. Planning and site preparation may add a few weeks to the total timeline.
Do I need council approval to install a bulk milk vat?
Requirements differ by council and state. In Victoria, check with your local council about planning or building permits, and let Dairy Food Safety Victoria know. Your refrigeration installer should understand the rules in your area.
What is the lifespan of a bulk milk vat?
A well-maintained stainless steel vat can last 20 to 30 years or more. The refrigeration parts, like the compressor, condenser, and controller, last 10 to 15 years and can be replaced or upgraded while the vat itself is in good shape.
Can I upgrade my existing vat rather than replacing it?
You can upgrade by replacing the refrigeration unit, adding a modern digital controller, installing a glycol pre-cooling system, or fitting a heat recovery unit. An experienced technician can look at your vat and suggest the best option for your budget.
What maintenance does a bulk milk vat require?
Vats need regular preventive maintenance, like checking refrigerant levels and pressures, cleaning condenser coils, inspecting agitator seals and bearings, testing safety systems, and servicing the CIP system. At least one service per year is recommended, but twice a year is better for high-production farms.
What happens if my vat breaks down after hours?
Pick an installer who offers 24/7 emergency dairy service. If your milk can’t be cooled properly, it has to be dumped, which is expensive. Emergency service helps you avoid this.